Recently, (oh, and by the way, happy 700th post! cough… where was I?) Oh right, Recently, I’ve seen a number of design articles talking about the “absolute brilliance” of one individual in particular who takes two photos of celebrities faces and then merges them together. The first two articles I read heralded this particular artist as a “Photoshop Genius”.
Um, not to be a dork, but I beg to differ. This particular ‘artist’ actually utilizes an application called SqirlzMorph which basically can create a gif or short movie of the transformation between two images. Stop the morph in the middle? Voila, you have your celebrity morph. The trick here is making sure you find to similar photos… but otherwise it’s pretty simple. I even tried it myself and very quickly realized how it easy it was to just gen photo after photo through the app.
Here are a few examples of how SqirlzMorph was used by this guy to combine features and faces together. It’s a pretty interesting effect.
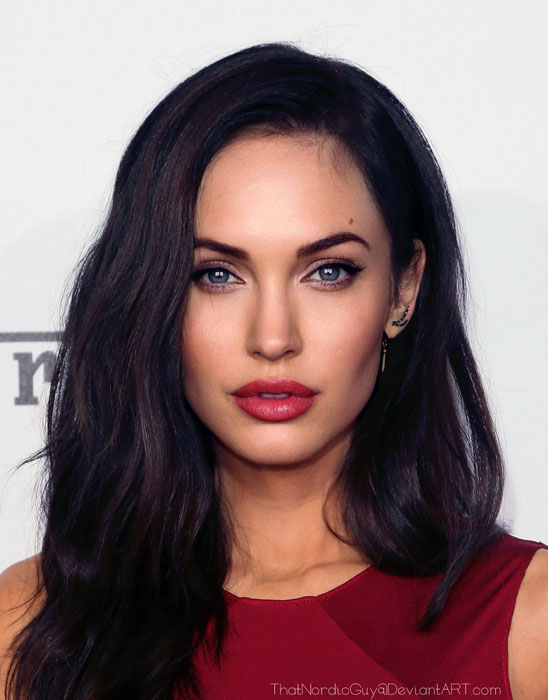
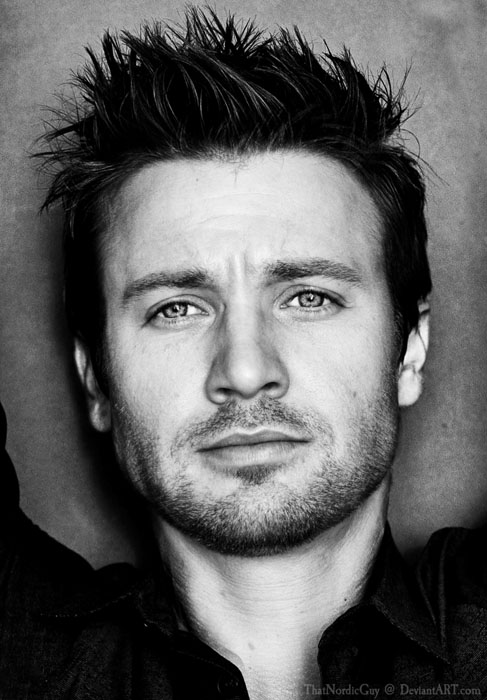
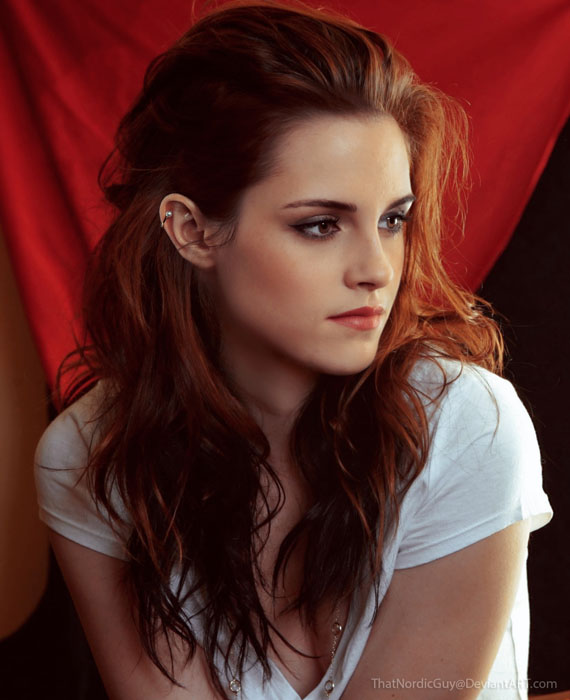
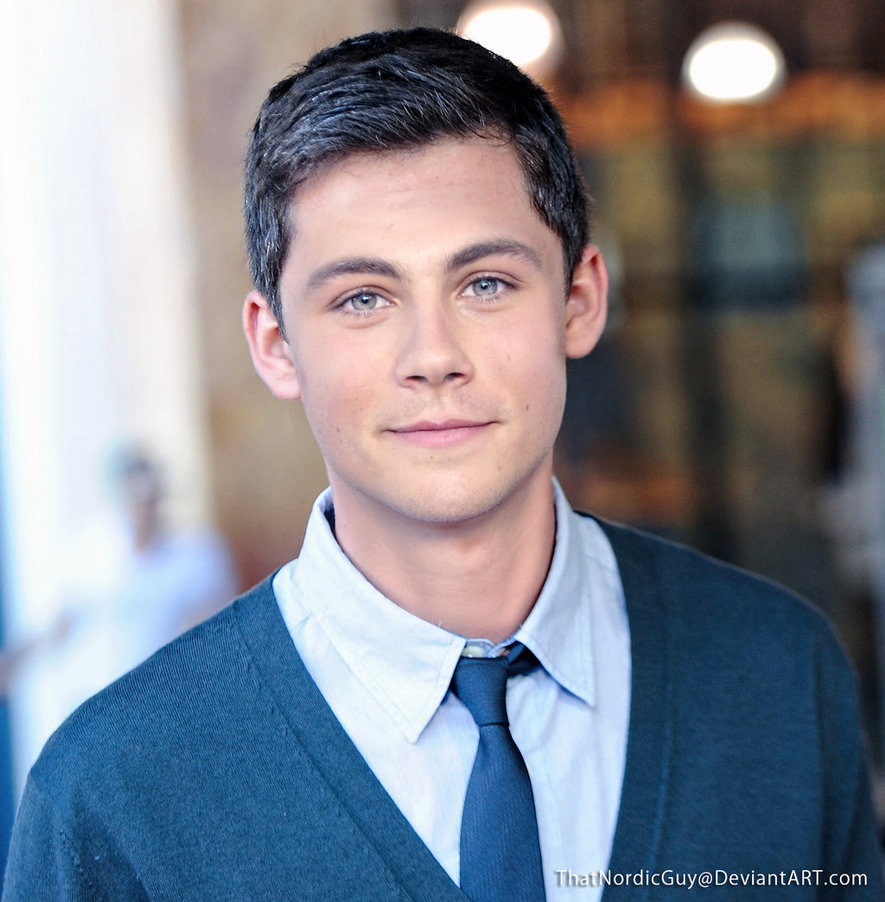
Want to check out more of ThatNordicGuy’s morphs, you can see them here. Why use an app though? You can do this face melding yourself in just a couple of easy steps in Photoshop if you’d like. No extra apps are necessary. Just a basic understanding of Photoshop is needed for this tutorial.
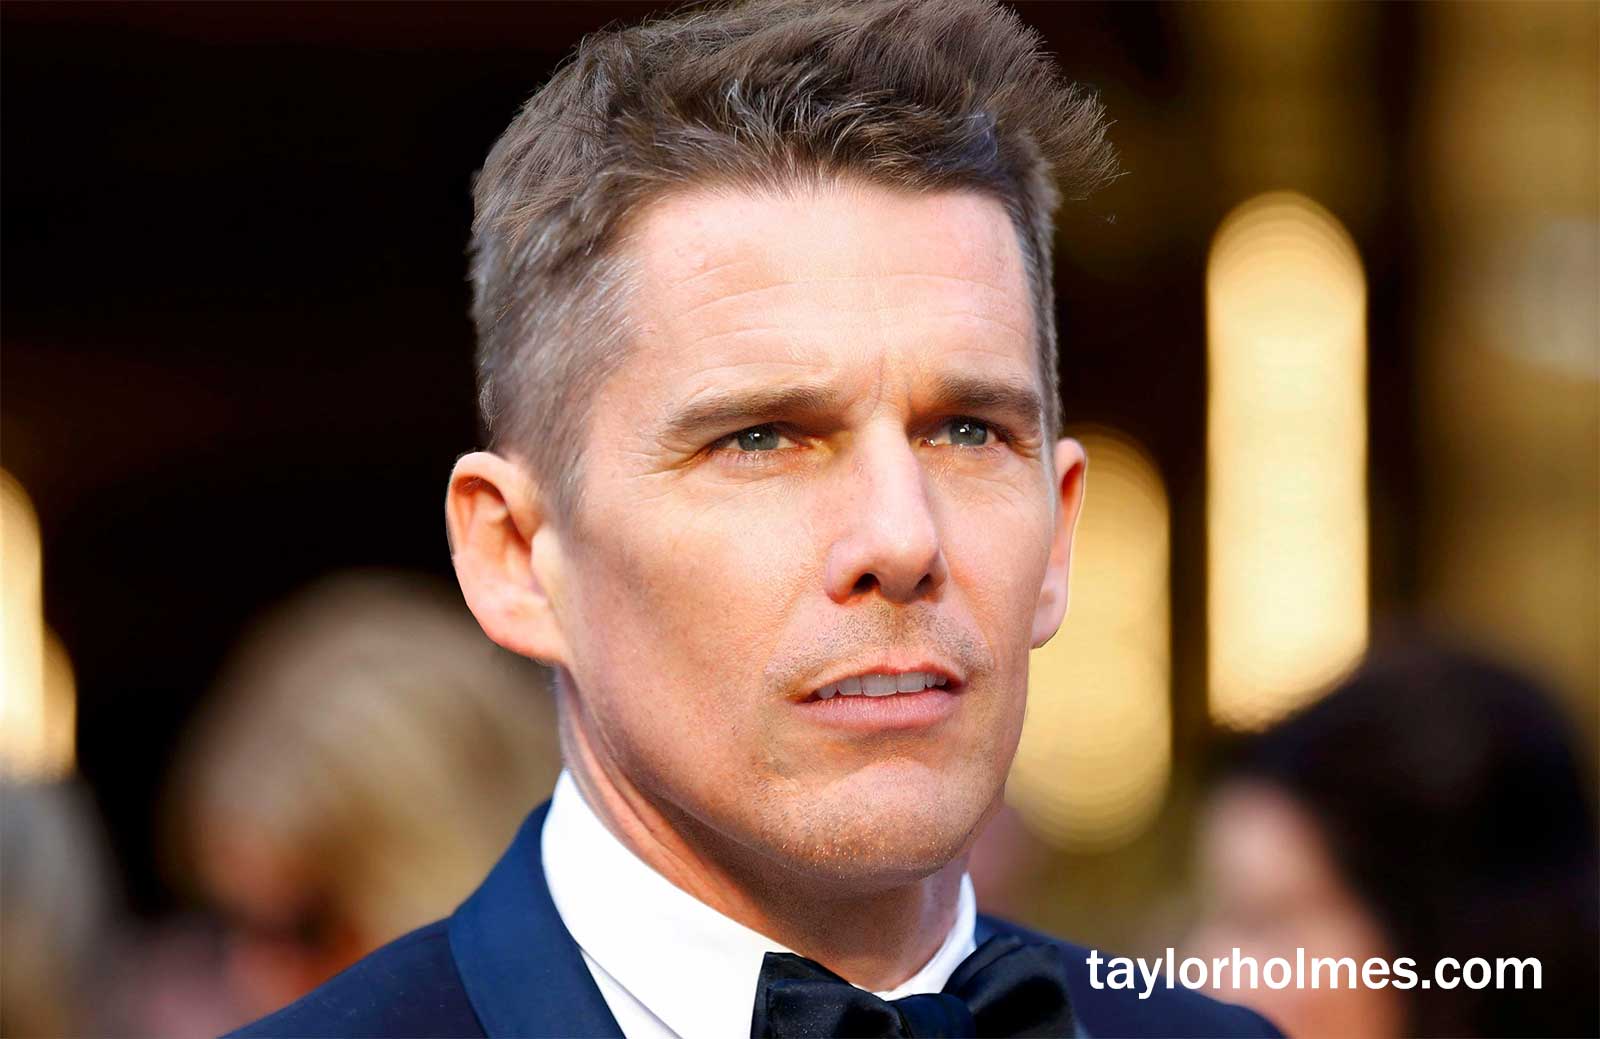
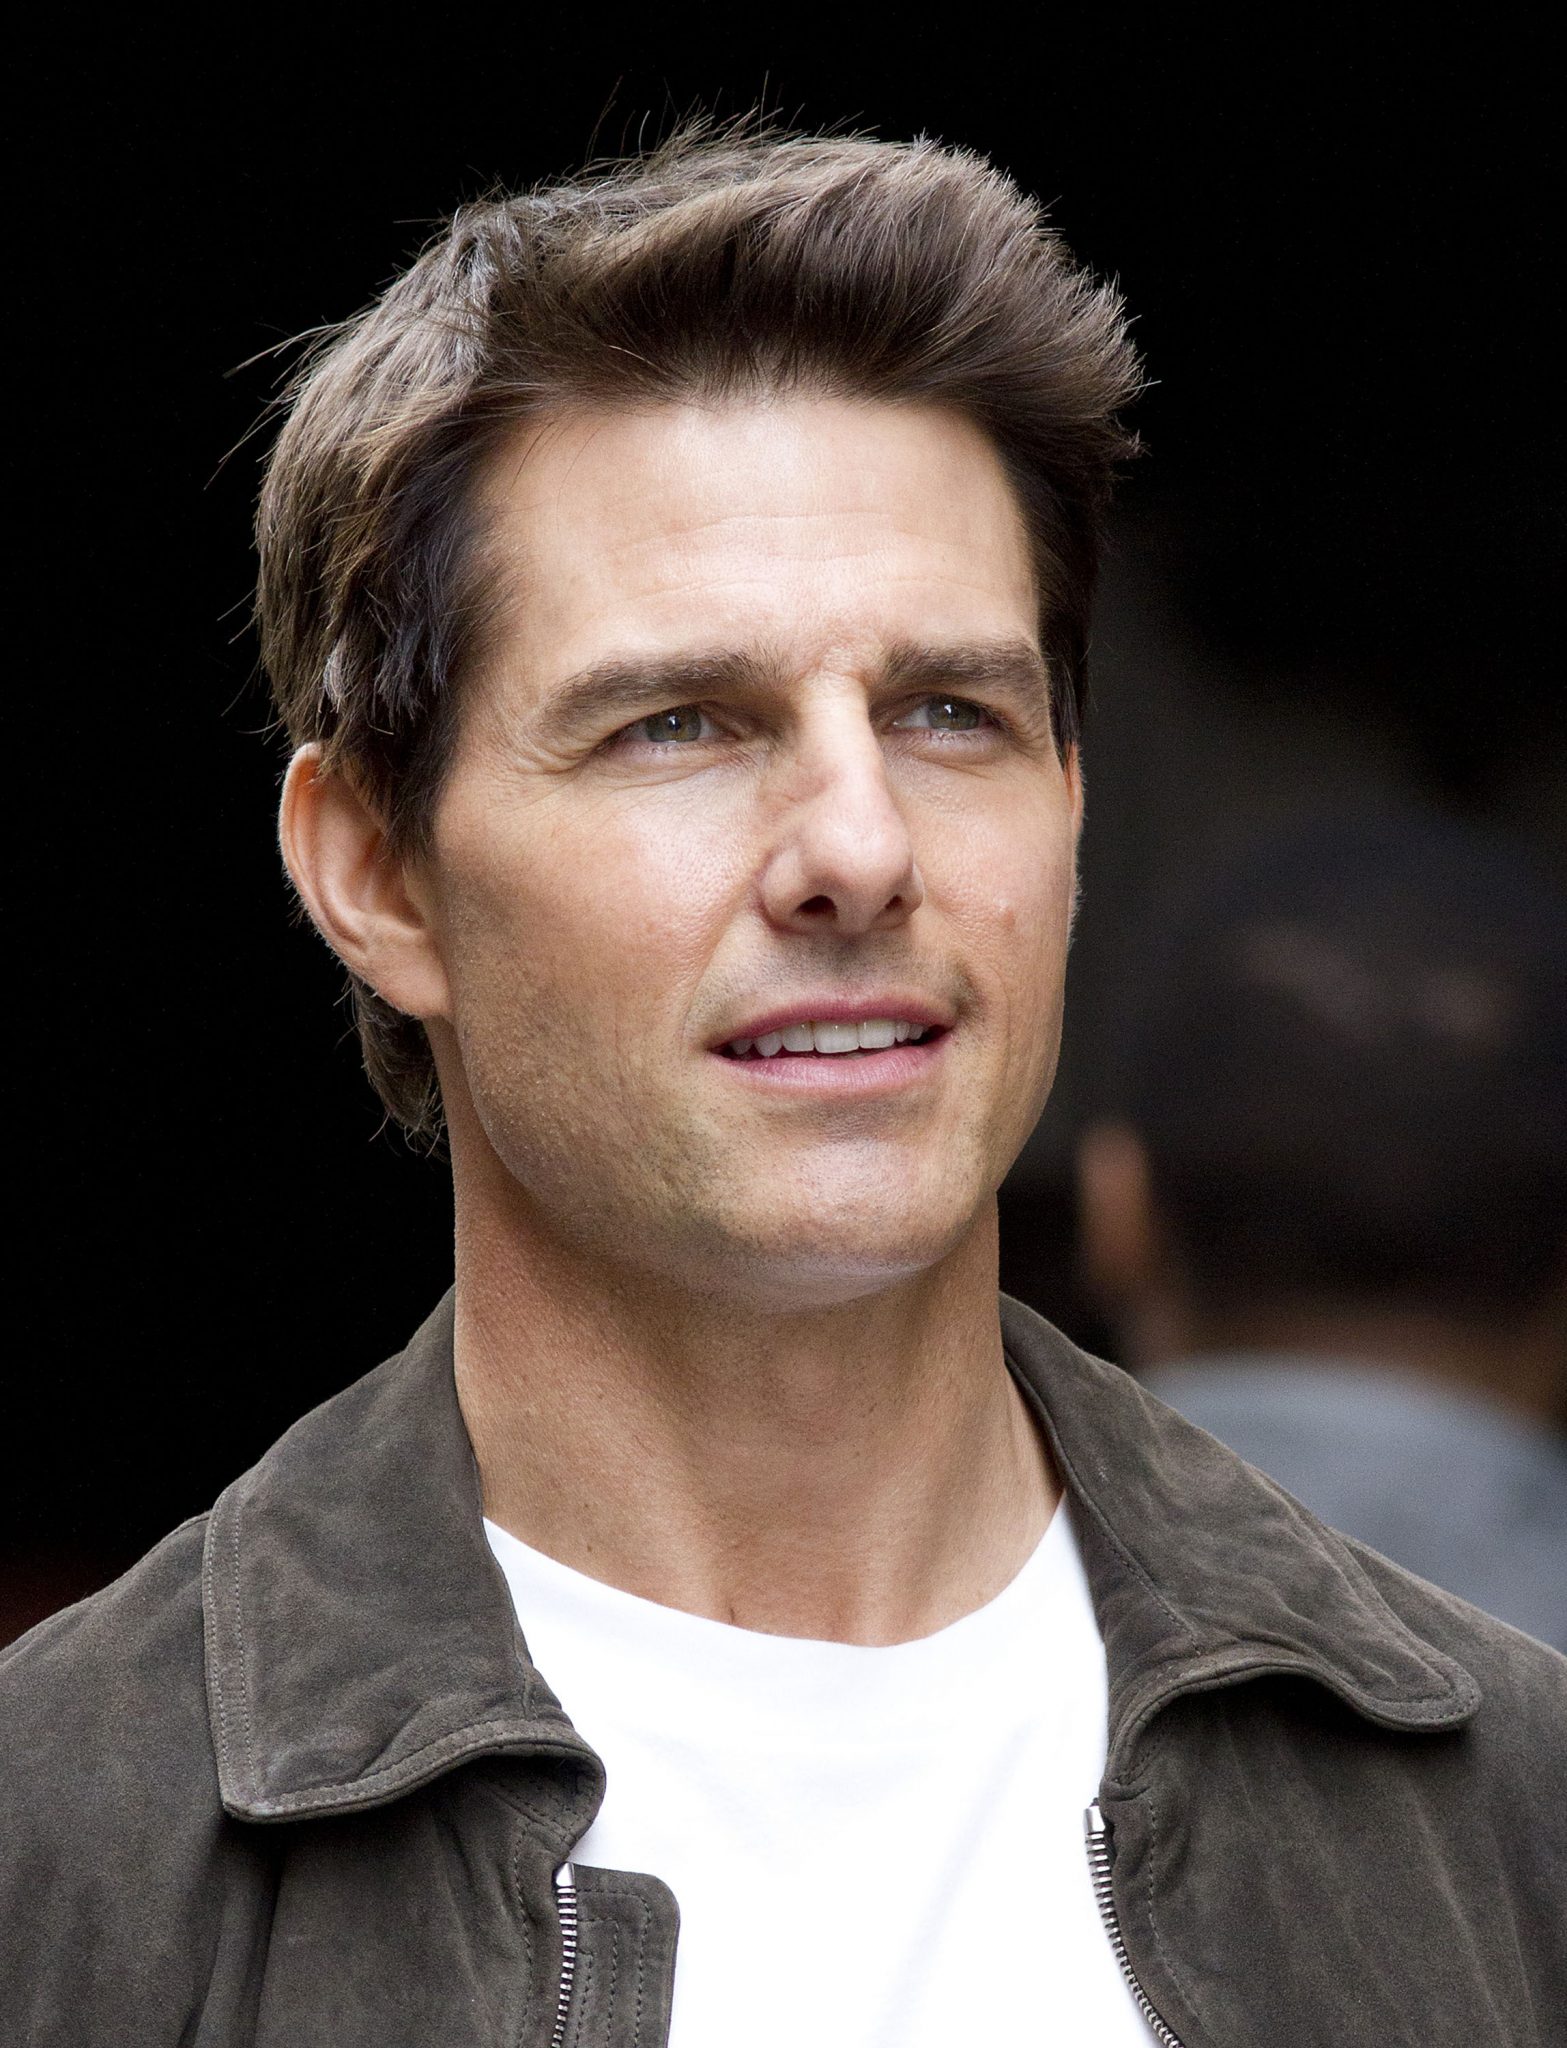
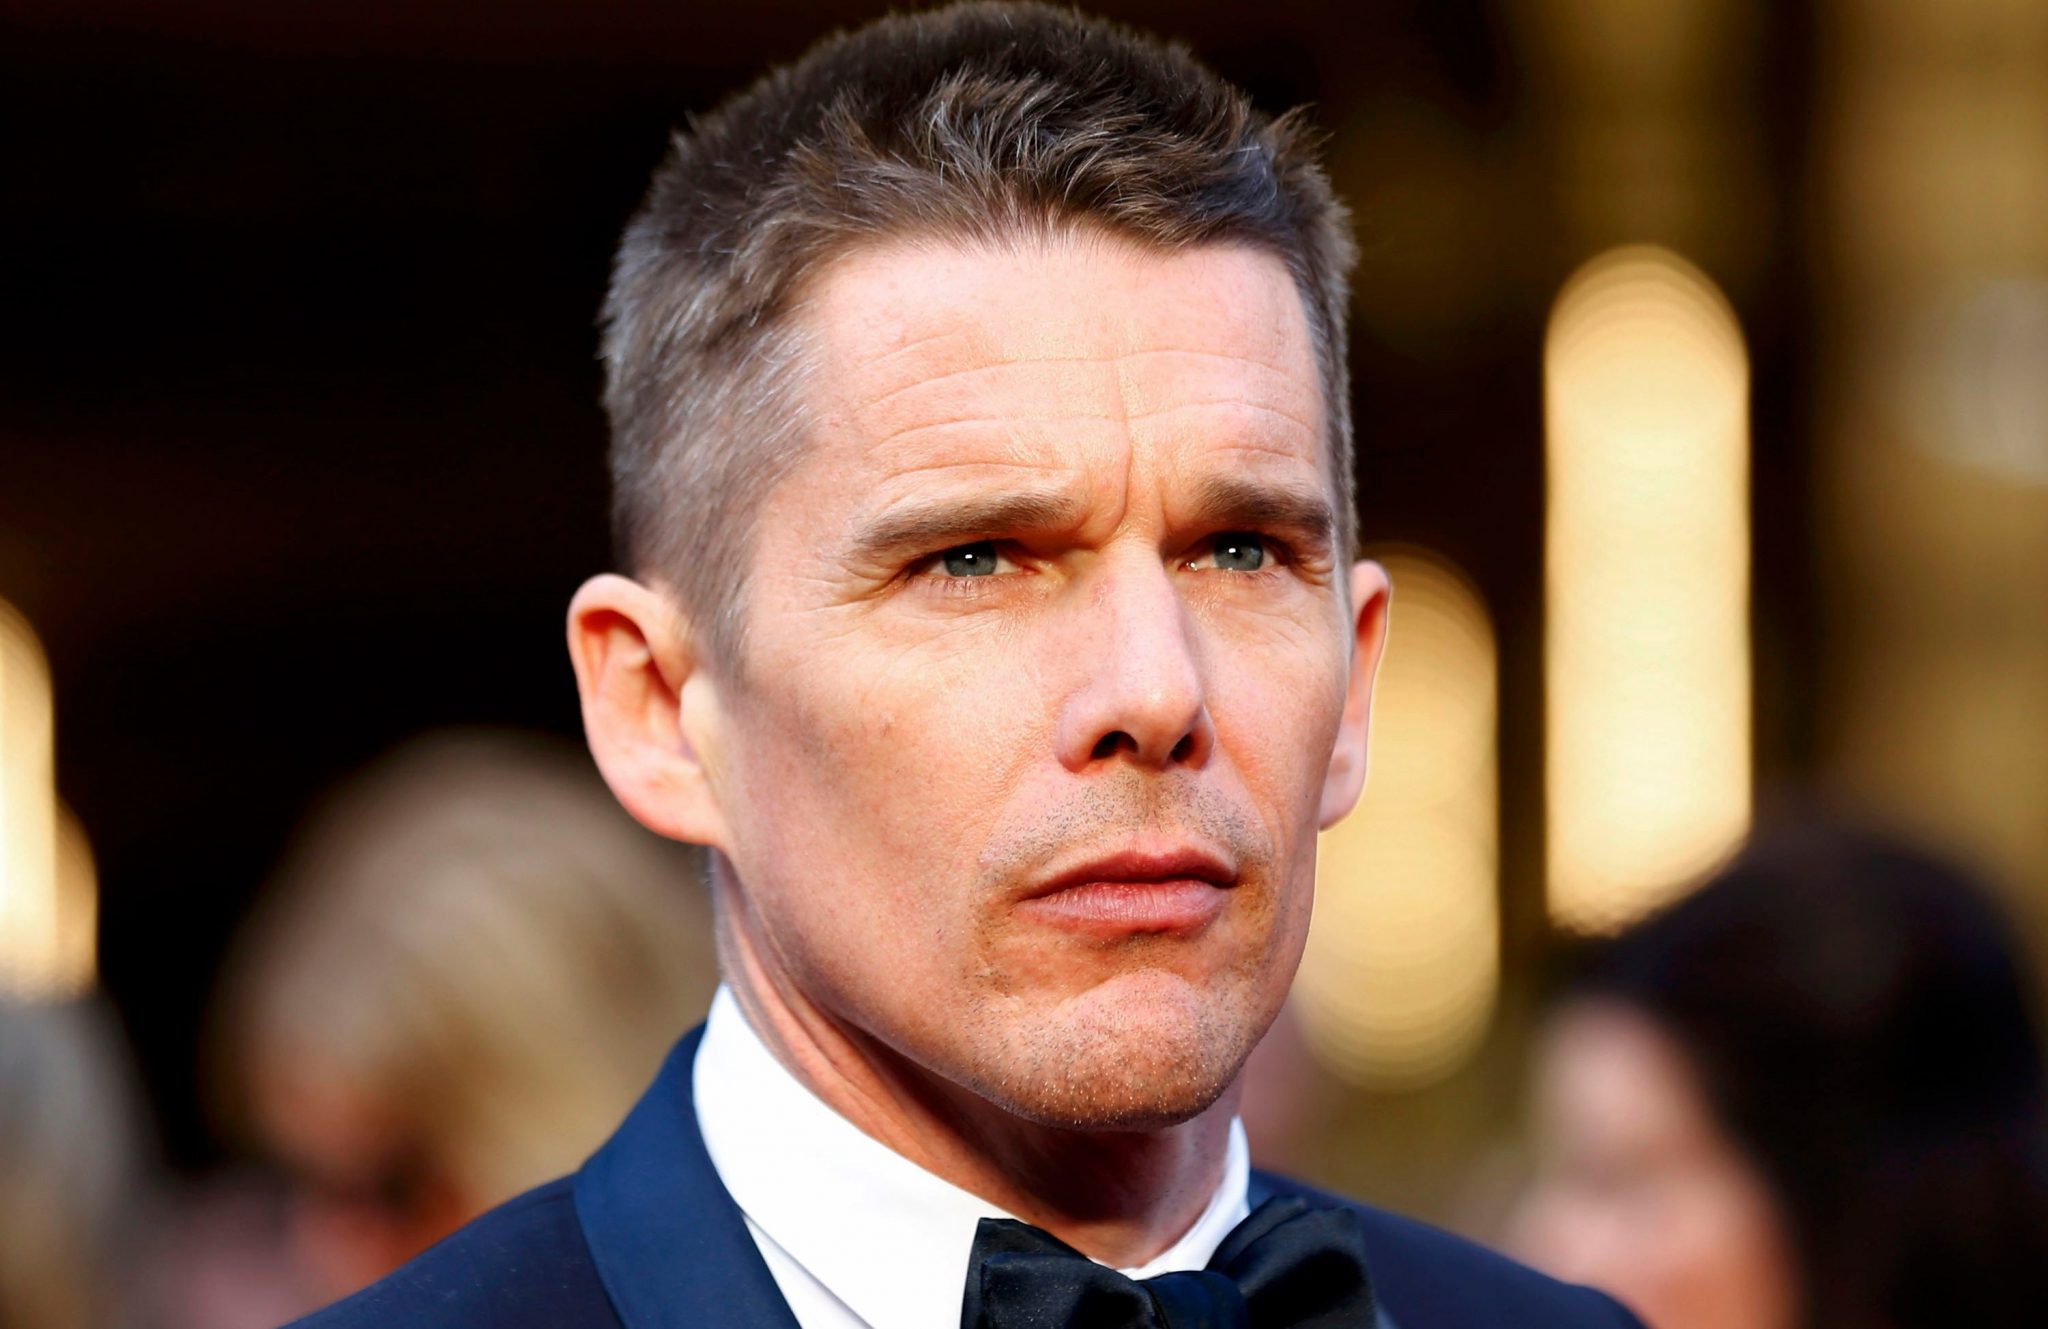
So for my merge that I did, and will be walking you through, I selected a photograph of Tom Cruz and Ethan Hawke. No real reason why. Just wanted their features to be recognizable when we were through. Here are the original photos I used – you can download them and work along with me if you’d like. The trick? Make absolutely certain that they are facing the same direction – looking the same direction. It is 100 times easier to get faces looking straight at the camera. But I liked the slightly turned look better.
This tutorial really won’t be a tutorial mainly because it’s so simple. But I will give you the basic gist of how to do this yourself, and then if you have questions, don’t hesitate to shot me up in the comments.
Step 1 – line up your faces.
To do this – decide which photo you’d like to use as your base. I used Ethan as my starting point. So open up his photo, and then import the second one in by pasting Cruz into a new layer. Easy enough right? Now, on the Tom Cruz layer decrease the Opacity of the layer by about 50% so you are seeing both at the same time. Then, select all of the Tom Cruz layer by hitting command+A (or ctrl+A on a PC). And then hit Edit > Transform > Scale – and tweak the size of the Cruz photo until the faces are very similarly sized. With these two photos you’ll also need to hit Edit > Transform > Rotate to get them to align perfectly.
Step 2 – begin merging
Because the Cruz layer is now at like 50% you are already beginning to see the effect happening of the merging of their two faces. Now we want to sort of pick and choose features to highlight and or minimize. In my merged photo, for chuckles, I picked Cruz’s teeth as something I wanted to push through to the final look. So I selected his teeth, and copied them, and added them to a new layer on top. I also started cutting out the areas of Cruz’s photo I didn’t want, like the background, his collar and jacket, etc. Really you just want Cruz’s face in the Ethan photo. (Or vice versa, depending in how you started.)
Step 3 – finalize your blend
If any piece of this tutorial has any sort of magic sauce to it, this is it. But difficult, this isn’t. So, now, take your Opacity level, and play with it until you get it to a level that mixes the two faces to a level you like. Just a tweak of 2% will have a radical effect on the outcome. So pay attention to this step the most. Now, change the top layer blending type on the layer menu from normal, to Hard Light. You could mess around with blending type too and that will give you different merging options. I prefer the Lighter Color layer merge effect, but you may really dig the Multiply effect.
Here’s how a few of the different merges work with these two photos:
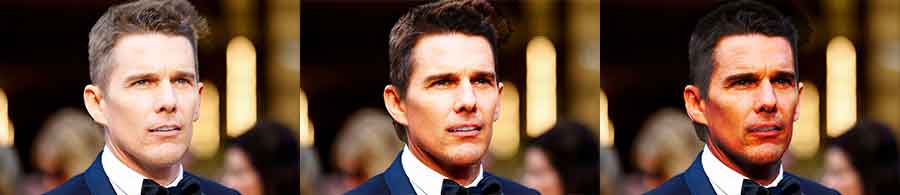
I just switched the merge type here – I wasn’t playing with opacities… which you could do as well to see what the combination will do. Anyway. Here is my finalized Ethan Hawke / Tom Cruz merge photo. Took me about 15 minutes to do. Sure, it isn’t perfect… I nicked Cruise’s ear when I was trimming. And I would probably do a little detailing on the nose if I were doing anything serious with this (like with a 300dpi high quality print, or anything.) But you get the idea here.